Uploading files and documents
 How do I upload files to my site?
Before you can create photo galleries, insert pictures on pages, or add registration forms, you should first upload these things to your site. You can upload files in the middle of other procedures but if you already know you are going to use certain pictures, logos, documents etc., you can upload them ahead of time.
1. Click the Site button on the toolbar.

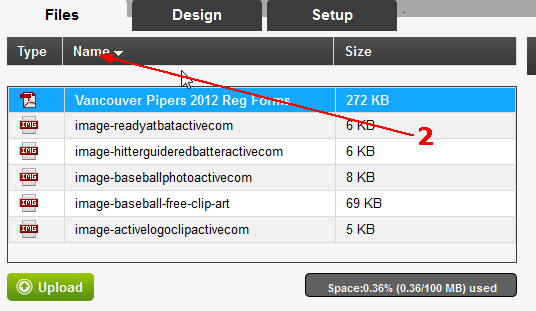
2. Click on the Files tab. You will see any of the files that are already uploaded. You can click on the Type, Name or Size columns to resort the columns.
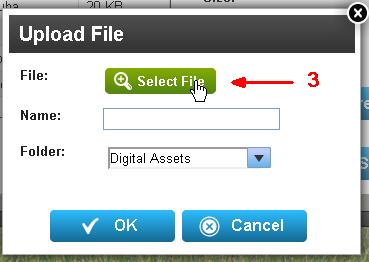
3. Click Upload to add new files from your computer. On the Upload File page, click Select File to choose a file.
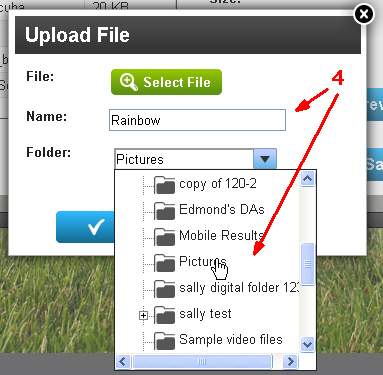
4. Locate the file on your computer and click Open to select it. The Name field will autofill with the file name, and the folder will default to the folder you were in when you clicked Upload. If you like, you can change the Name or the Folder location.
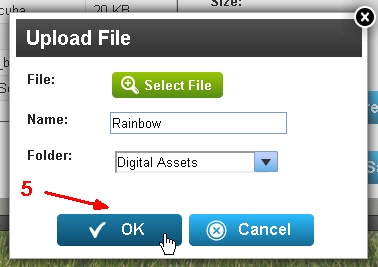
5. Click OK to upload. If the file is too large the system will automatically optimize the image size for upload to your site so you should not have to make any changes to the file in order to be able to upload it!
You can repeat this procedure and upload documents, PDF files, as well as gif, jpeg, png and other image files. Once you have uploaded files, you can create photo galleries and insert documents and images throughout your site in page content and widget areas.
Note: To delete a file that you have already uploaded, click the file in the list and then click Delete. CTRL-click to highlight multiple files to delete.
![]()

